Thursday, June 27, 2013

Nickhun Birthday Card

This July birthday gal loves a lots of things, Red colour, Guitar, Music and Nickhun from 2PM. She even pasted some photos of Nickhun at her workstation.
So I added all the elements into a card. This is quite a different style from the theme. I gathered some handsome and cute photos of Nickhun into this card, so that she can dream of hime every night.


Front of the card
 
Inside of the card
 
Back of the card

Sunday, June 9, 2013

One Pieace Birthday Card

It's June, and the beginning of June is always a busy period for me. I have to attend the exam and have to make birthday card. The birthday gal's birthday falls on 10th June. That means I have to start making the card as soon as I finishes my exam.
I'm glad that I compleated the birthday card on time for her birthday celebration.
She loves One Piece animation. I searched the web for the best picture that consists all the characters in one. I have made a popped-up effect for the onc piece picture.


Inside of the card
 
 Back of the card


Sunday, February 10, 2013

February Birthday Cards

 
It's time to make birthday card again for a fresh year of 2013. This year's Birthday card theme is 3D. Recently, lot of bookstores starts selling 3D popped-up cards and they are all costly. So, I start thinking of making a similar 3D popped-up. 100% handmade with no duplication is much more special and meaningful to the receipient. So, I start trying out makimng one, and I am happy that it turned out great!
 
It is easy to decide what theme to make for Kym's birthday card, as she loves Runningman as much as me, so I source for inspiration from everyone's best friend - Google.
Instead of getting photos of Runningman members, I found cartoon version created by the fans are more cute!
Not only the cover of the card, I tried to do popped-up effects inside the card, and it turned out well too!
 

Inside of the card

 
As for Sheryl's card, She doesn't have any preference, I did a traditional birthday cakes card, with the same 3D popped-up effect.

 
I did the same for the interior of the card.


Saturday, December 24, 2011

Christmas Project 2011 - Personalised Organizer

Christmas is around the corner. Due to heavy schedule on work and exam, I had no planning of making any handicraft for Christmas this year. However, I have suddenly had inspiration. So I wanted to give it a try.

I started immediately after my last exam paper on 8 Dec 11. However, our Pre-Christmas celebration will be held on 16 Dec as one of my colleague is flying back to her hometown for Christmas, that means I only have 7 days to complete the projects. I managed to completed 5 of them, and have to give the other 2 colleagues two days later.

I used different colours of felt fabric, buttons, ribbons and laces to decorate the organisers.
As I do not have a sewing machine, these organizers are 100% hand sewed by me.

Merry Christmas !!!


This organizer was my first attempt. It took me the longest time for me to figure out the correct measurements. it turns out well but not very perfect and hope that the next one would be better.


Friday, December 23, 2011

Birthday Card Projects

JULY BABY


This friend of mine is a cheerful girl who loves to sing, playing guitar, likes Red colour and cat. So I made a birthday card in of her wearing in favourite colour with her favourite colour background.


As she loves to sing, I drew her as a glamourous shining star singing happily with her favourite cat playing guitar.

It is not difficult when creating a personalised birthday card for her as she has a couple of favourite things. All I have to do is to input all her favourite items into the card to tell a story about this girl.


AUGUST BABIES


My idea for creating this card for my friend is, she just got engaged recently. So I used a soft touched background that suits her character and black ribbons as decorations matching with her wedding gown.
This card is not just a card, It is actually a 'photo frame' that can slot her wedding photo in.


Mee Mee is our superior. She is our 'drama queen' too.
She is happily married with a son. She loves LV and loves travel.
She gives us an impression of 'Tai Tai' (rich married woman) plus for her surname is 'Tai'.

So I drew her wearing party dress sitting on her name.


Rica is our senior who taught us a lot at our work. She is a serious, down to earth person.
Knowing her for five years. I drew her portrait that is really resembles her very much.


I will continue to make more pretty birthday cards for my friends.

Thursday, December 16, 2010

My Next Project Preview - Mini Felt Dessert Handphone Charm

This mini felt dessert was my first attempt for sample. It turn out successful, I'll continue to make more different felt handphone charm.


Sunday, December 12, 2010

My Handmade Felt Desserts- Note Holder

It all started with a mini felt cake fridge magnet from Daiso, then a felt pudding magnet for Cindy's birthay.

I've searched google for ideas and designs as reference. To make my mini felt cake as a form of decoration and usefulnss, I revamped it into my very own creation of note holder.

Every part of the mini cakes you see here were all 100% hand-made by me.


Vanilla Ice-Cream in Waffle basket


This is my favourite mastr piece, and is my first attempt to the waffle basket. I never expect it to be turned out successfully.


Mango Ice-Cream in Waffle Basket


This was my next attempt after the vanilla ice cream in waffle basket.


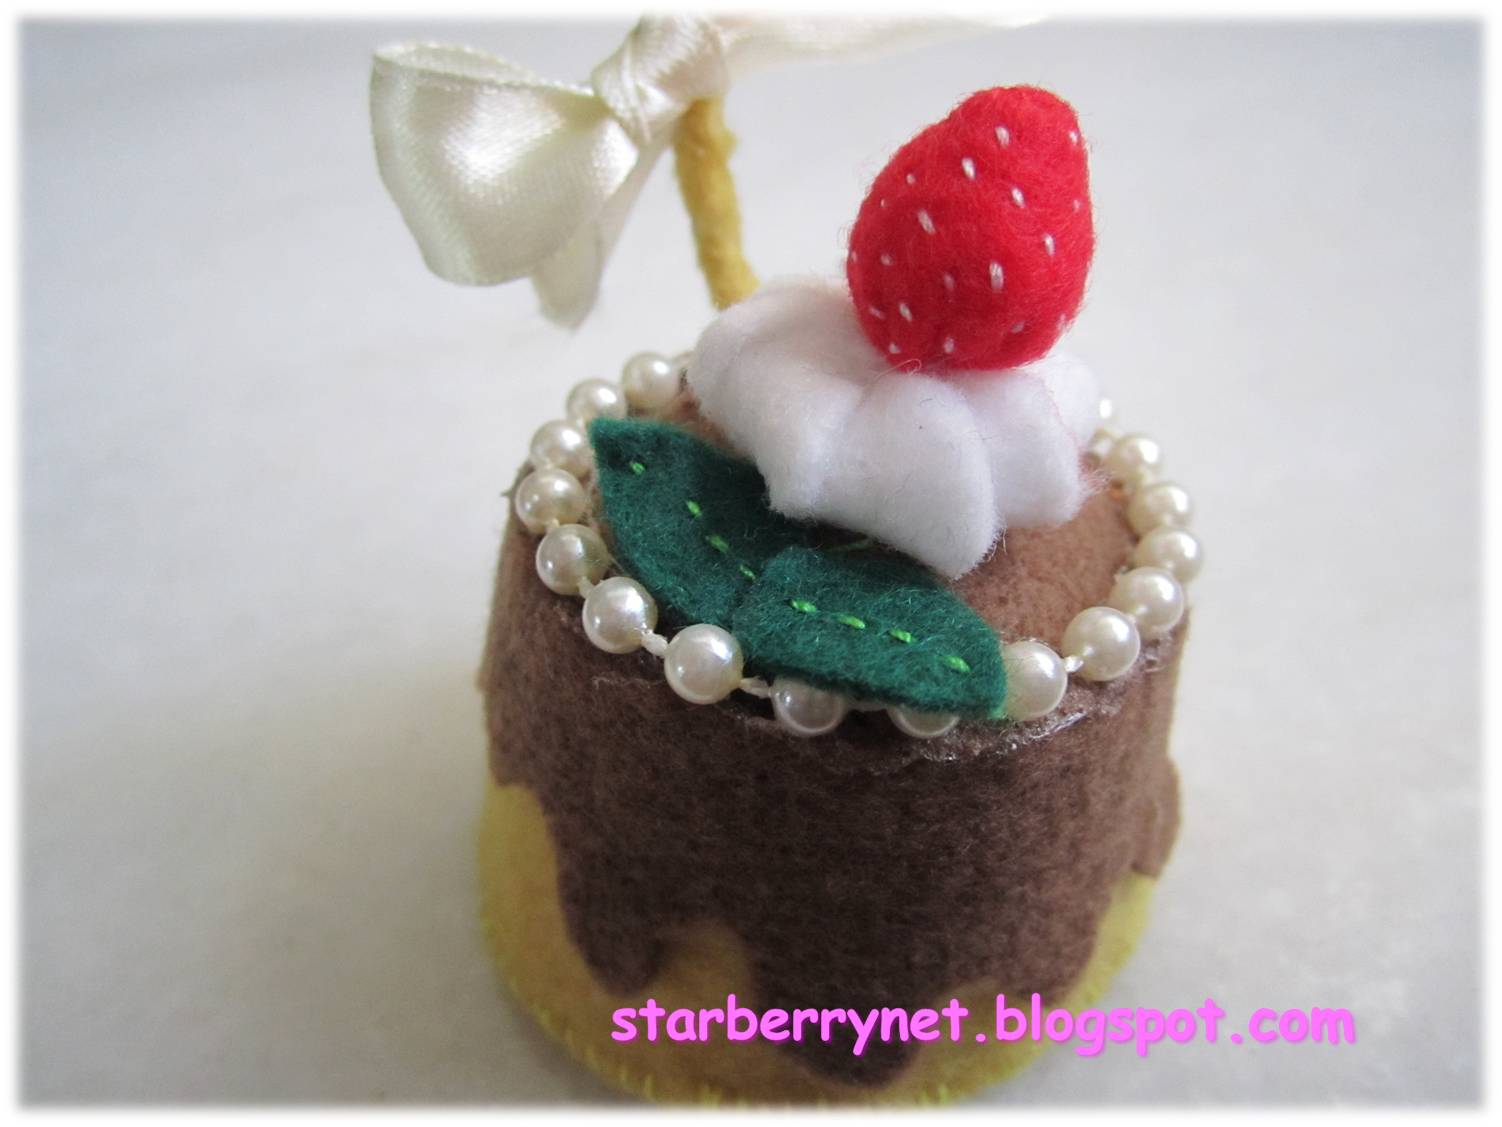
Strawberry Chocolate Cake


Sliced Chocolate Cake


This sliced cake is the most challenging cake to sew, that's why I only made one.


Strawberry Coffee Cake


Strawberry Vanilla Cake


After I finished sewingthe cake, I realised that it looks like a wedding cake.

Chocolate Frudge Pudding


I've made 7 of them for my collegues as Christmas Gifts. I hope they like it.
I bought all the materials from a $2.00 shop in Singapore.

Saturday, December 11, 2010

Update on Rocking Chair Assignment

My Rocking chair was one of the pieces selected to be exhibite at Iluma in Dec 2010 for 3 months!
Yeepee! My Rocking Chair is rocking all its way to ILUMA!!!


Saturday, November 13, 2010

Assignment - Basic Model Making

In the semester of Basic Interior Design course, one of our module is Basic Model Making. we have to build a rocking chair to 1:8 scale. We have to draw the initial sketch of our rocking chair design. I changed my designs gradually as to the trainer's advises.
I'm afraid of using the machines for cutting the woods. So, my rocking chair design concept is as simple as possible which using minimum cutting required. I asked my classmates and trainer to help me cut and sand my woods to shape.
Fortunately, my rocking chair is rocks and finished. It is ready for assesment next Tuesday.
This is the backrest and the seat of my rocking chair.
Joining the parts together


The finished rocking chair.


My initial rocking chair design was with cushion, but after the design of the backrest. My trainer suggested to leave it without teh cushion.


Adding more fun to my rocking chair